
Grow a Brick for the Delle Open-Air Temple
Thank you for growing a mushroom brick!
-

STEP 1 - INTRODUCTION
Your kit should have:
• 1 bag of reishi mycelium and oats
• 1 bag of hardwood pellets
• 1 bag of gloves and alcohol wipes
• 1 flat box -

STEP 2 - HYDRATE THE PELLETS
You’ll need:
bag of wood pellets
large mixing bowl
1 1/2 cups boiling water
cling wrap
blanket• Empty wood pellets into clean mixing bowl
• Add 1 1/2 cups boiling water
• Cover with cling wrap and blanket for 6+ hours -

STEP 3 - ADD THE MYCELIUM
You’ll need:
the mixing bowl with hydrated pellets
bag of mycelium
scissors
clean spoon
2 tablespoons flour
cling wrap
toothpick• Open mycelium bag and add to bowl
• Add flour, mix
• Cover bowl with cling wrap
• Poke holes in cling wrap to allow air flow
• Store bowl in warm, dark place until surfaces are white (3-4 days) -
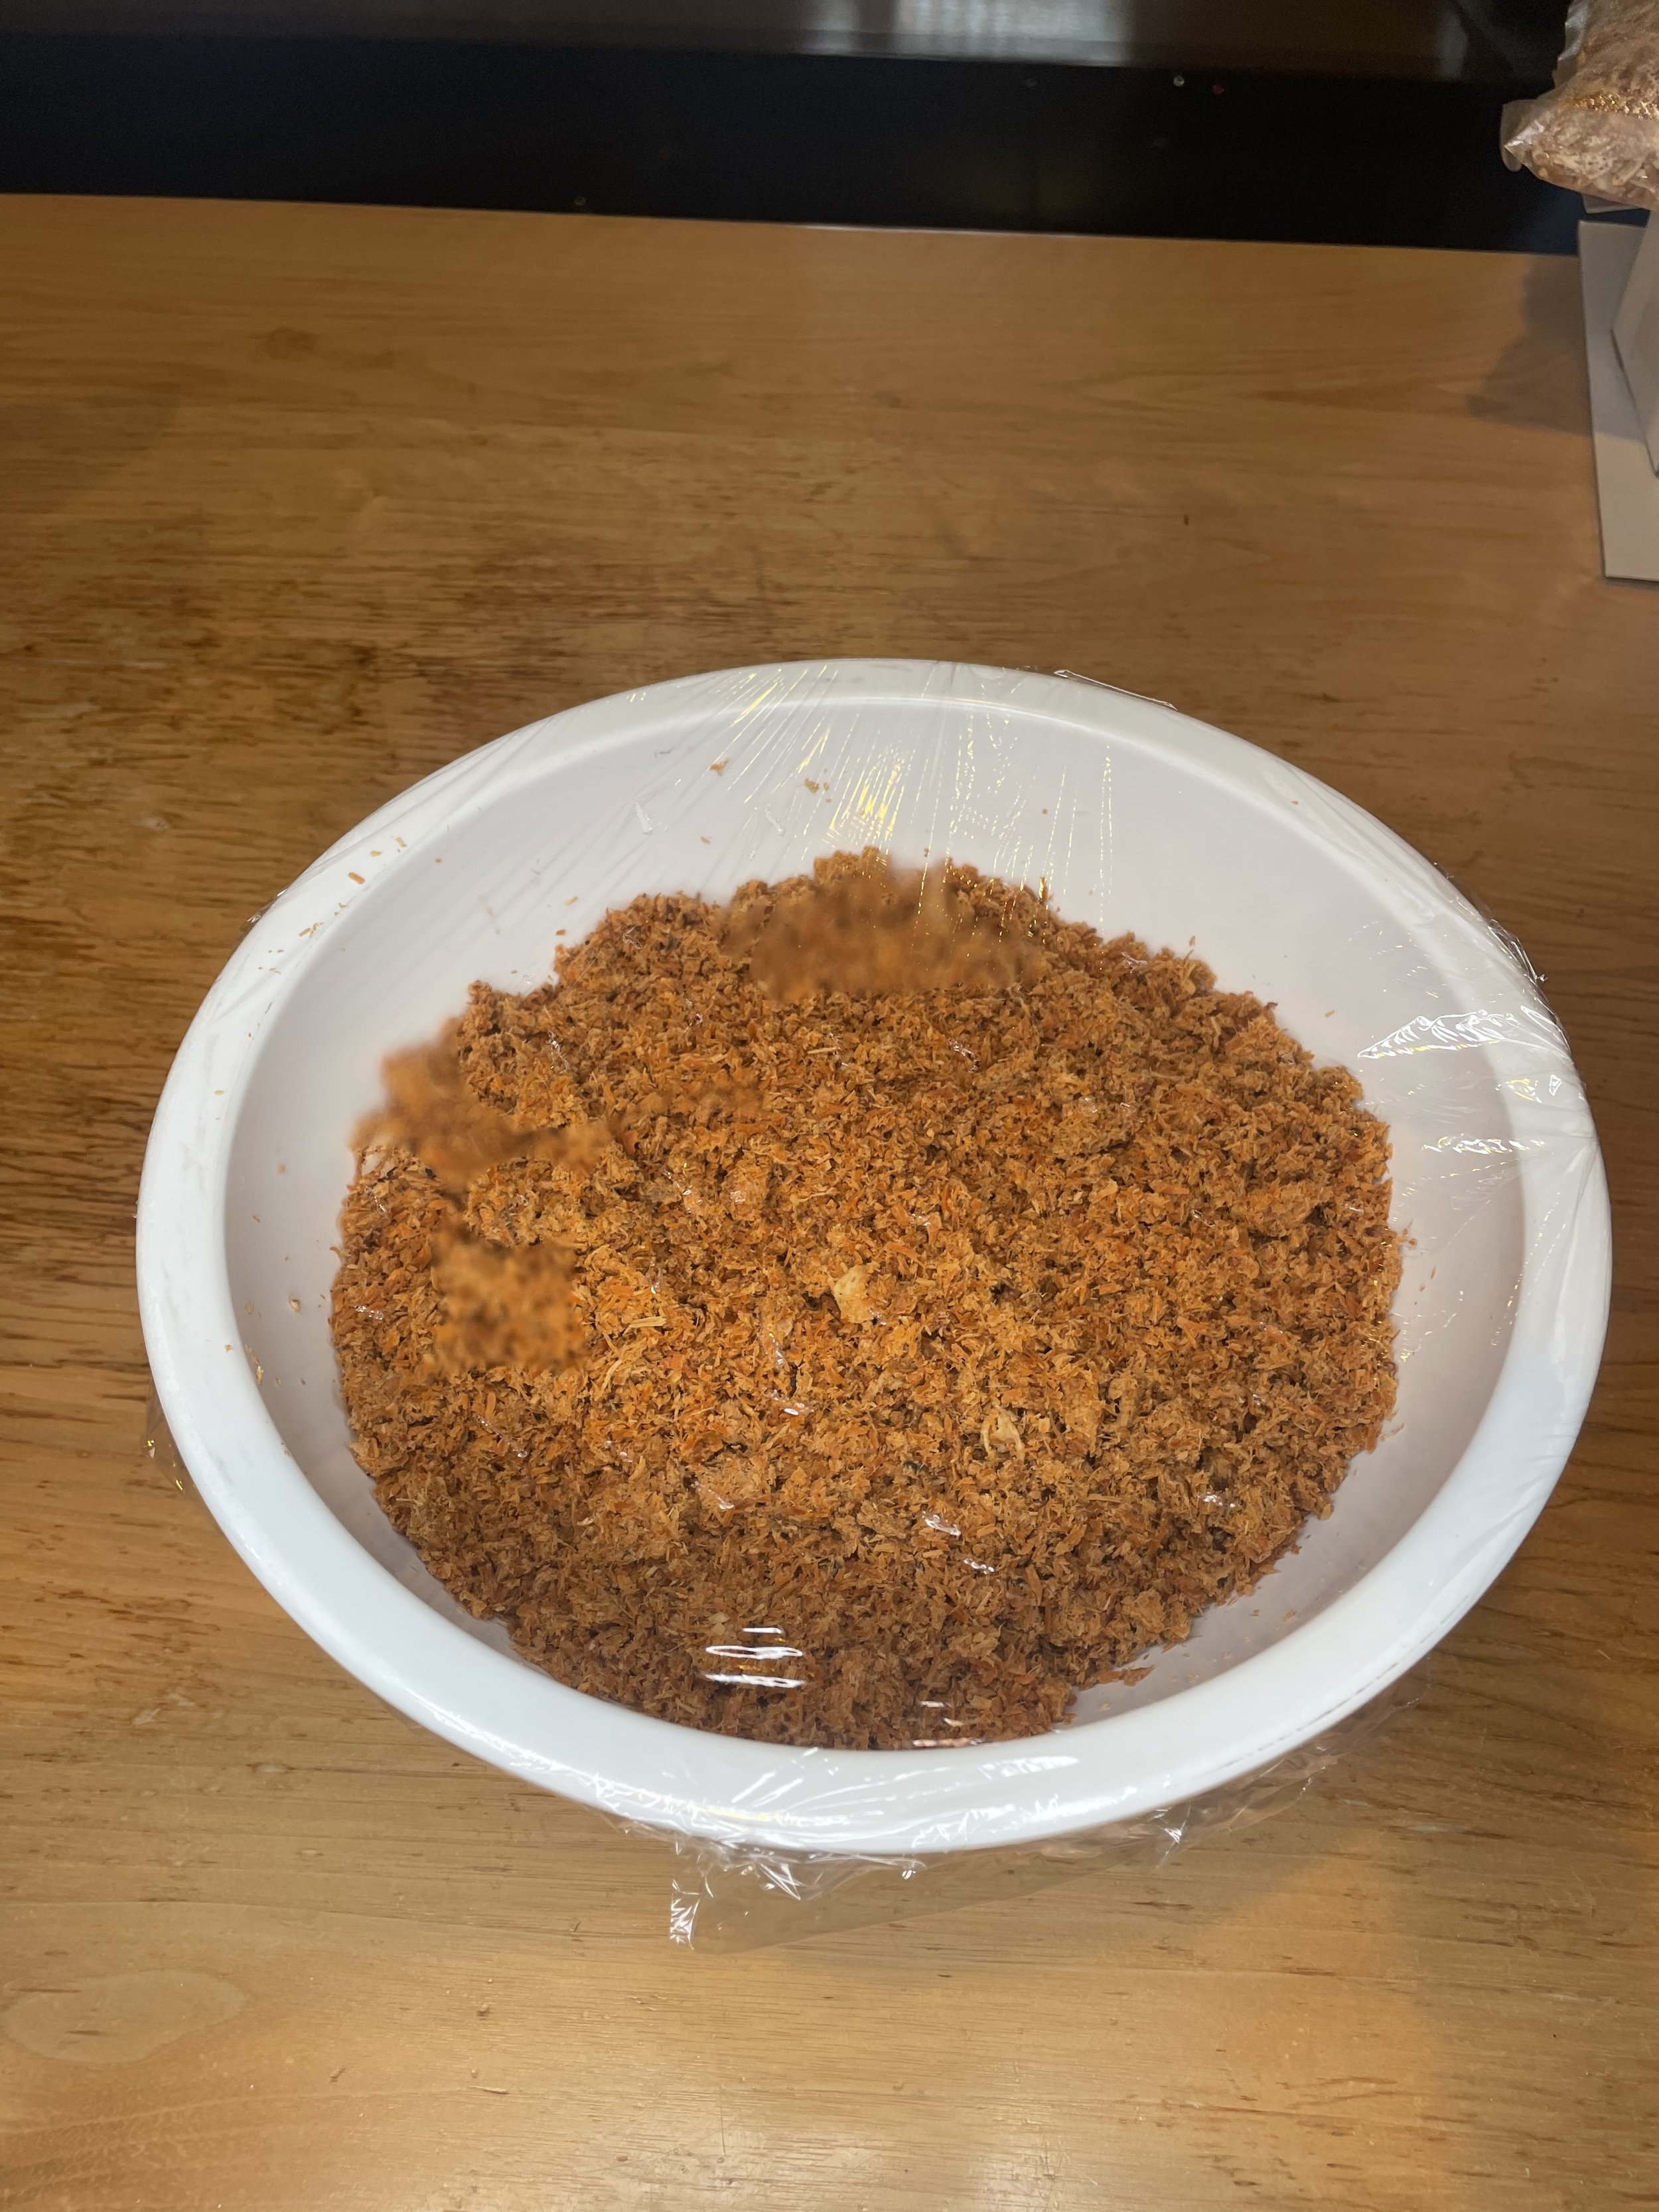
STEP 4 - BREAK UP THE SPAWN
You’ll need:
spawn, clean spoon
2 tablespoons flour
2 tablespoons water
cling wrap
toothpick
gloves• Break up the spawn
• Mix in flour and water
• Cover
• Poke holes for air
• Return to warm, dark place until surfaces again are white (3-4 more days) -
STEP 5 - FORM THE BRICK
You’ll need:
spawn, clean spoon
2 tablespoons flour
2 tablespoons water
box
packing tape
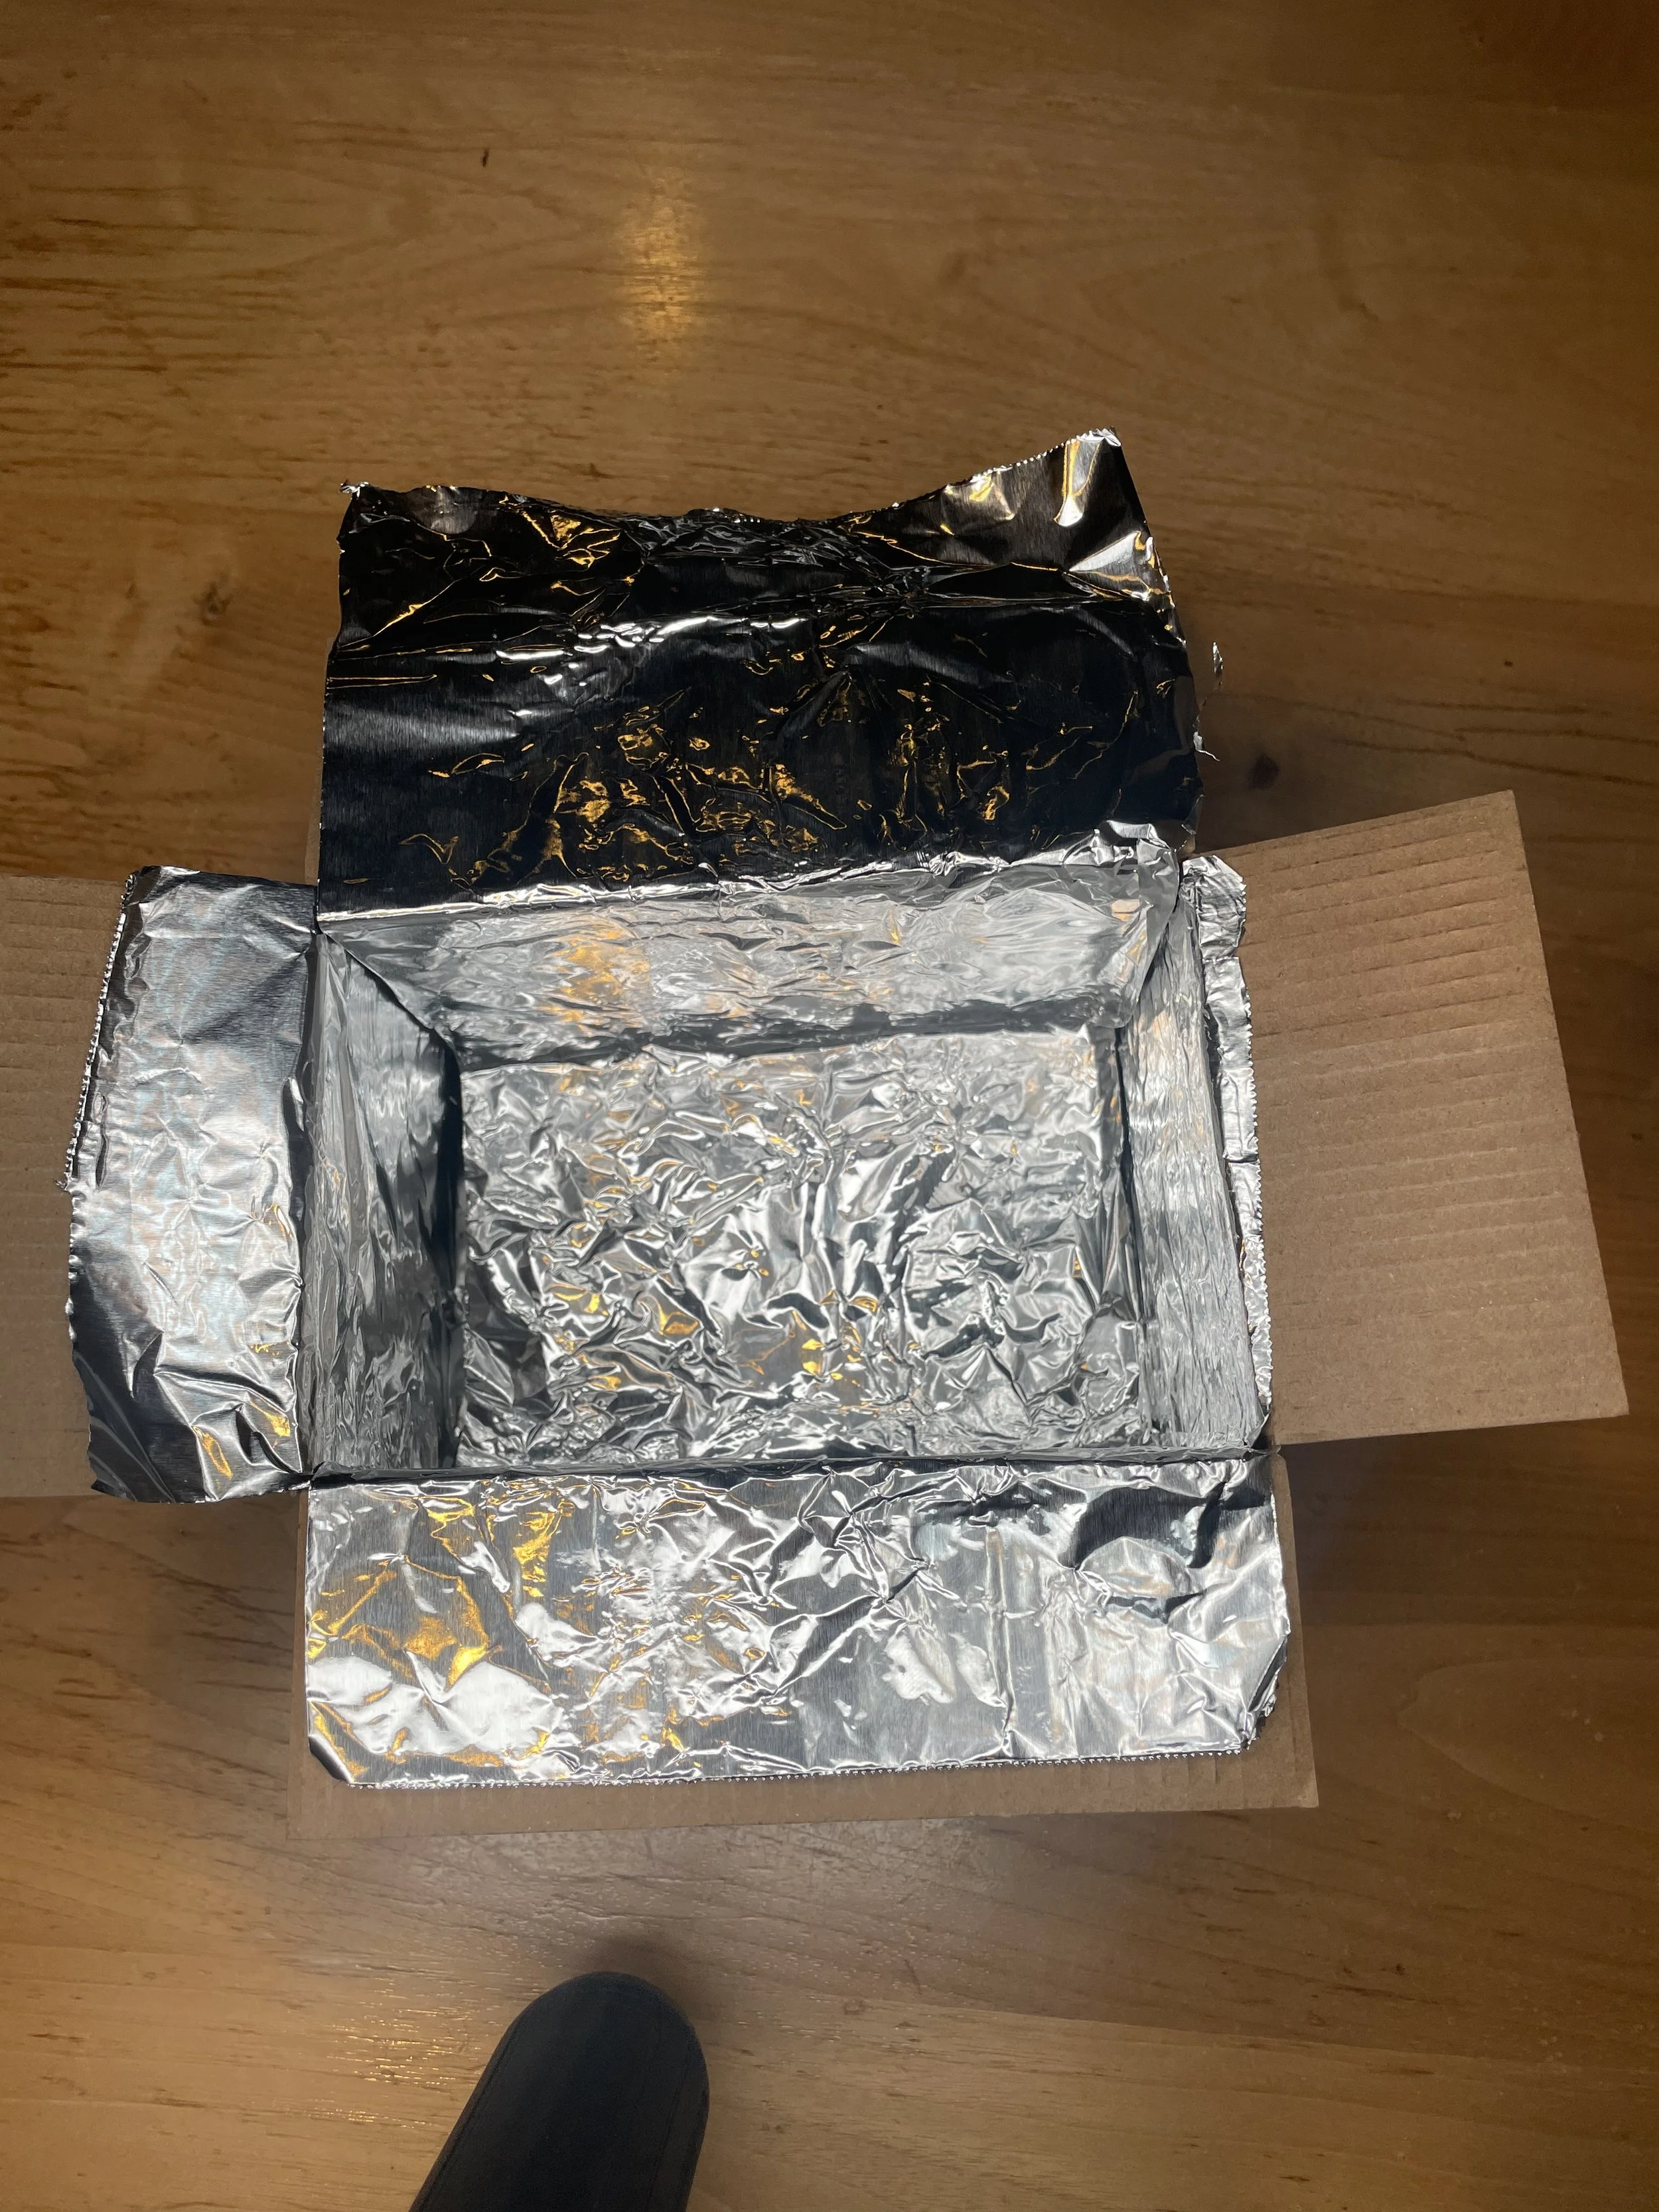
aluminum foil
gloves• Form and tape the box, line with foil
• Repeat Step 4 process (break up the spawn, mix in the flour and water)
• Move spawn into the box, packing lightly, cover with foil and close lid
• Return to warm, dark place until top surface is white (3-4 days)
• When top is white, remove foil from box (careful to retain box shape) and poke holes on every side (to allow airflow to all sides).
• Return to warm, dark place for another 3-4 days -

STEP 6 - REMOVE FOIL FROM BRICK
You’ll need:
brick
plastic bag (ziplock or grocery bag)• Gently remove foil from brick
• Place brick in a big, open plastic bag (for airflow)
• Return to warm, dark place
• Keep the inside of bag moist until all surfaces are solid white (3-4 days) -
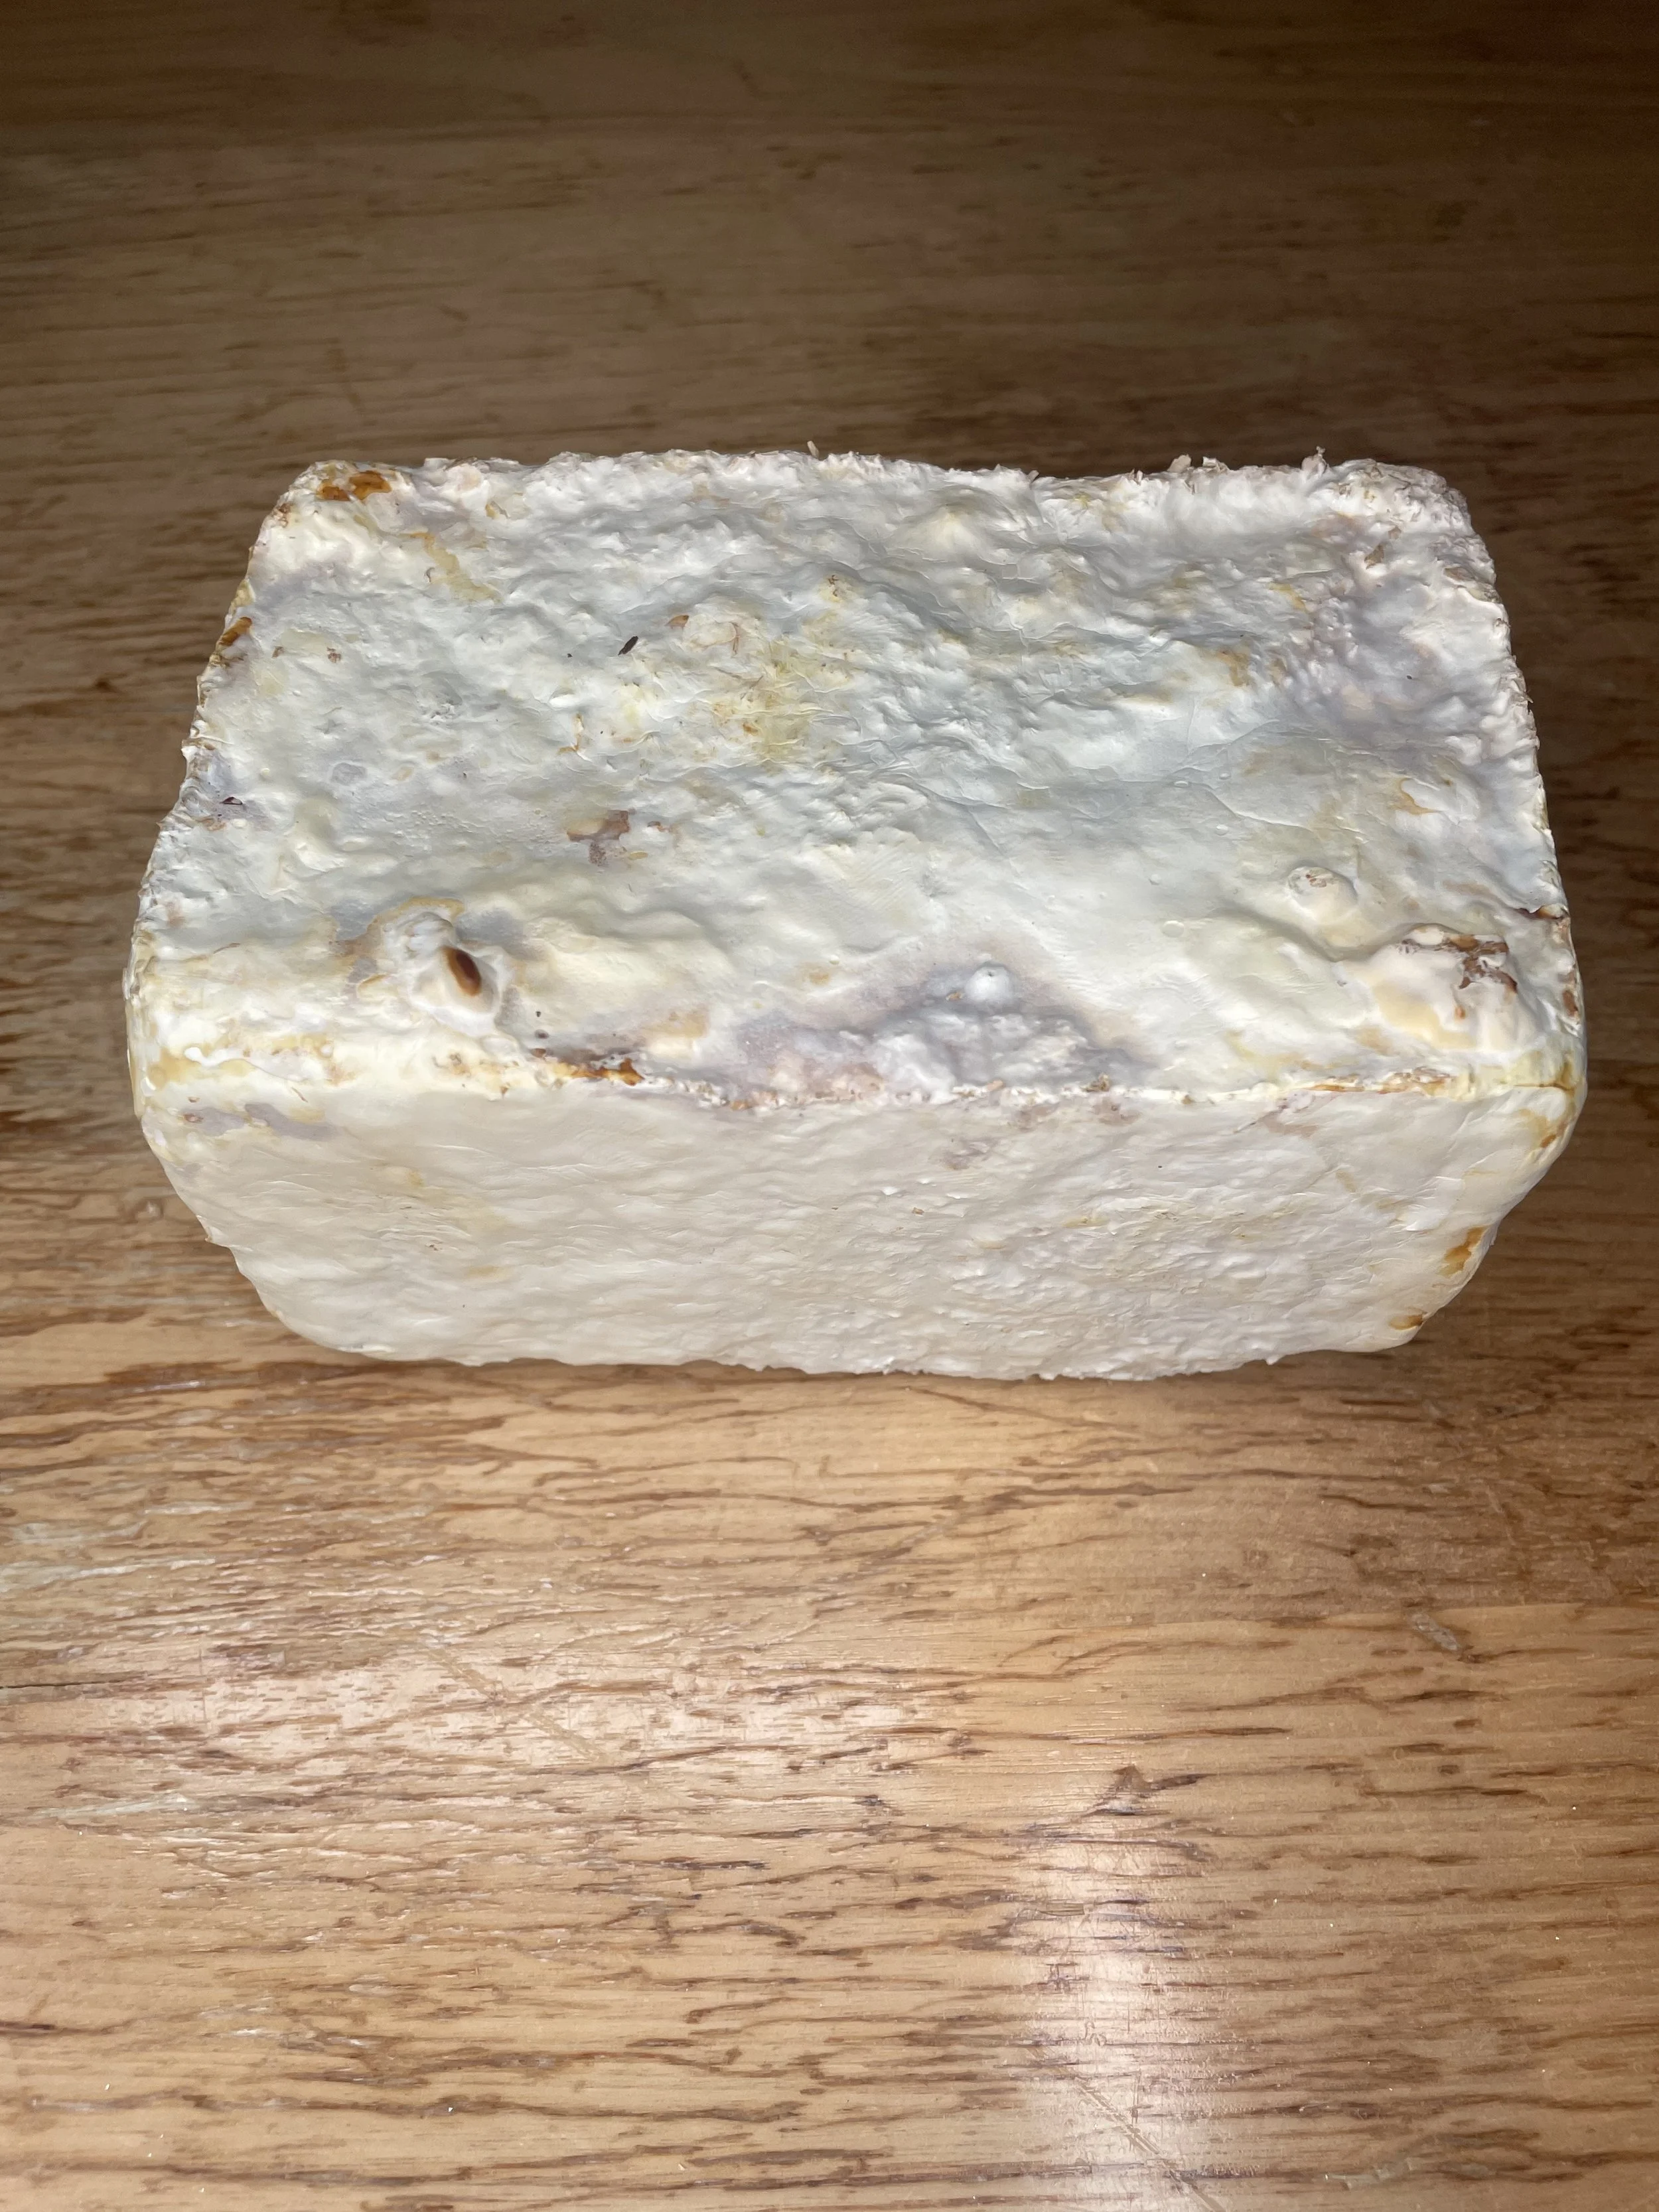
STEP 7 - REMOVE BRICK FROM BAG
You’ll need:
Brick
• Gently remove brick from the bag
• Let it air dry for 3-4 days (inside is moist and will keep growing) -

STEP 8 - DEHYDRATE BRICK
You’ll need:
brick
a dehydrator, an oven, or a sunny window sill• Dry the brick in a dehydrator, an oven, or window sill
-

STEP 9 - MAIL THE BRICK
You’ll need:
dried brick
box used as the brick mold (or another box of choice)
packing tape• Move dried brick into box of choice
• Tape box closed
• Mail to The Divine Assembly (address below)
• ALTERNATIVE OPTION: come visit us at the Delle and personally deliver the brickThe Divine Assembly, 48 W Broadway 2005, Salt Lake City, UT 84101
-
MAKE IT PERSONAL
If you want to make the brick personal, add a compostable item during STEPS 3, 4, or 5. Shred larger items into pieces no larger than an inch.
Ideas include:• Wedding or birth announcement
• Piece of baby blanket or clothing item
• Notes of healing, manifestations and goals, habits or behaviors to form or jettison, love letters, divorce declarations, birthday mementos, anniversary markers, photo - anything to help mark life’s moments, big or small
• Lock of hair, small amount of ashes, baby teeth, flowers, or other natural material
• Something to mark a birthday, anniversary, promotion, and other life milestones
• Memorabilia or notes from important trip
• Plane tickets, maps, travel itinerary, tickets to theater, movie, concert or sporting event
• Ribbons, art work, vision board inspirationIf is compostable, it will work - make this a meaningful brick to you
-

THINGS TO CONSIDER
• Consider developing authentic rituals to your brick growing, such as an annual recognition of important dates and holidays
• To personalize your brick, feel free to add any compostable item (original, copy, sketch, etc)
• Shred the item, if needed, into pieces no larger than about 1 inch square (smaller is better)
• Consider taking a picture of what you added to personalize your brick and post it on social media, to let others know and connect
• Don’t worry if your finished brick is not the full height of the box. The irregularity of the bricks is a feature of the temple, not a problem
• Make as many bricks as you want
• Please encourage your friends and family to help grow this temple
• Come visit the temple you’ve helped build